The Homework Project Episode 3: Slappy Curb
2020-05-29
Grab your skateboard (and your safety goggles) for this week's episode of The Homework Project. Snowboarder and team athlete Spencer Schubert is showing us how to make a slappy curb. While there are multiple styles of curbs and different ways to make one at home, this is Spencer’s preferred method. He also recommends checking out skateboard forums to see which approach might work best for you.
Supplies you’ll need:
- 1 piece of plywood or particleboard
- 2 wood boards, #2 or better (2"x6"x10')
- 1 rebar (10'x 3/8)
- 1 box 3" T25 construction screws
- 1 box 2" T25 construction screws
- 2 bags 5000 PSI concrete
- 1 can oil-based paint (to paint your curb)
- 1 can clear-coat lacquer (to seal your curb)
- Silicone
- Motor oil (or some kind of lubricant)
- Paraffin wax
- Safety goggles
- Skateboard
SPENCER'S TIPS TO PULL IT ALL TOGETHER:
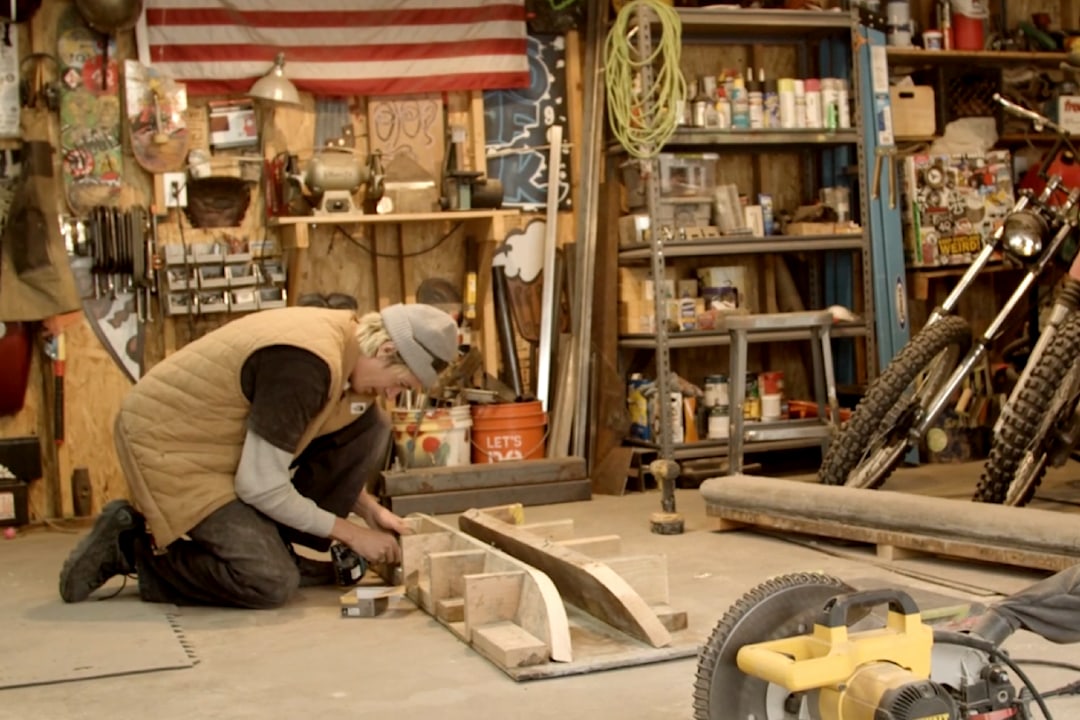
Spencer secures the legs to complete the curb mold.
Building your mold
- Determine the length you want your slappy curb to be and cut accordingly. Spencer makes his curbs right at 7 feet.
- Next, decide what angle you want to use to cut your legs. Spencer’s above are built at 15 degrees.
- Then screw your mold together. Make sure you seal and lubricate accordingly.
- You don’t necessarily need concrete tools to finish the surface if you decide to build the curb with an upside-down mold.
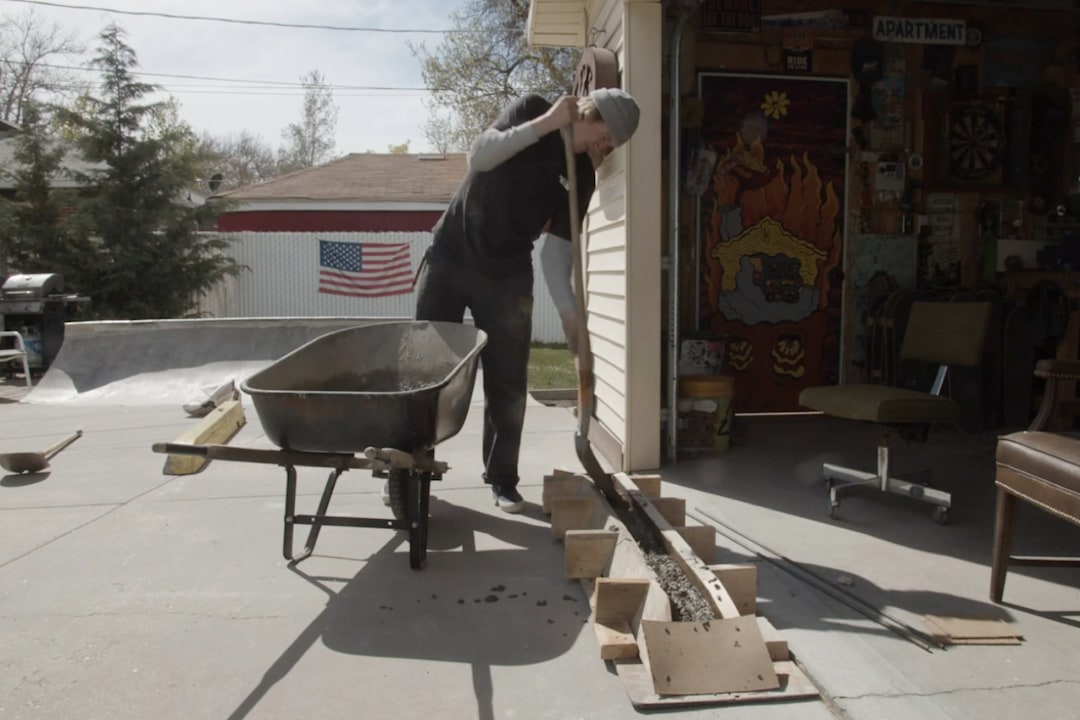
Be sure to fill the mold with a consistent mix of concrete.
Getting your concrete ready
- Start by pre-cutting your rebar then set it aside.
- Next, mix your first bag of concrete and pour that into the mold, setting your rebar on top of the concrete mix. You may not need that entire second bag of concrete so only use what’s necessary to fill your mold.
- Once your mold is filled, vibrate it to help the concrete settle.
- Time to let it cure. Spencer usually covers his curb with a damp cloth. After the first day, he pours water on it to delay curing and avoid cracking. The curing process can take up to five days.

Adding multiple layers of paint can help keep that curb slick to grind.
Painting your new slappy curb
- While the paint isn’t required, it does help to create a slick surface (and looks slick too).
- Make sure to use an oil-based paint and double-check that your paint of choice works on concrete. It also helps to add multiple paint coats to the surface.
- Once you’re done painting, let the paint dry for at least a day. Spencer likes to throw a layer of clear-coat lacquer on his curbs to help seal and protect the paint.
- You’re almost there! Give that bad boy a nice wax and it’s ready to skate.

Spencer slappy crooked grinds the final product in his backyard.
P.S. Our lawyers would like us to reiterate the importance of safety first. Always wear a helmet when you ride and safety goggles when you’re using power tools.
OUR BEST-SELLING STYLES TO GET YOU MOVING